|
Using
the AVISYNTH Frameserver Plugin to Premiere you can use any
encoder like TMPGEnc without creating a temporarily AVI.
Note!! This method is using avisynth beta plugin and may
not work that good for all. You can then try the other more
updated Premiere FrameServe
guide.
Tools you need: Adobe
Premiere 6 /
avisynth beta with plugin and any MPEG Encoder.
Installing the Plugin
Just copy the Cm-avisynth.cm.flask in the Flask dir. If
you want to use it within Premiere just rename it to Cm-avisynth.cm.prm
and move it in the plugin dir.
Installing Avisynth
Avisynth consists in its entirety of a single DLL and
a few entries in the Registry. Once you've unpacked the distribution
archive, just move avisynth.dll to your windows\system directory
and double-click the install.reg file.
After you have edit everything in Premiere you are ready to
export the movie.
Export
Timeline->Movie as usual.
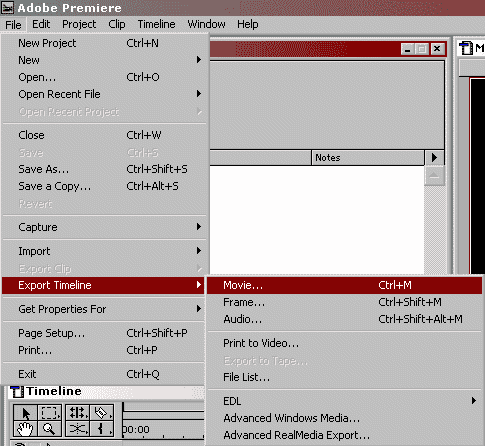
Click Settings...

Select Link to Avisynth under File Type
and select Advanced Settings.
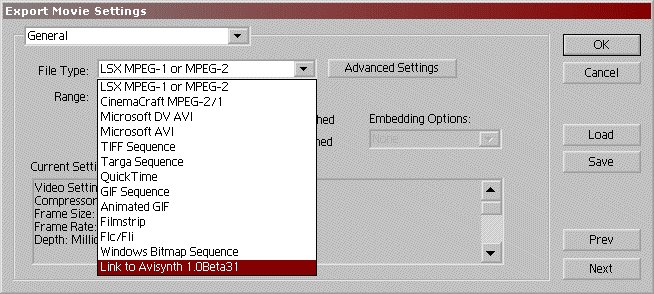
Select Random access and hit OK and OK again under
the Export Movie Settings to come back to the Save dialog.

Save
the file as anything it doesnt matter, it wont create a file.
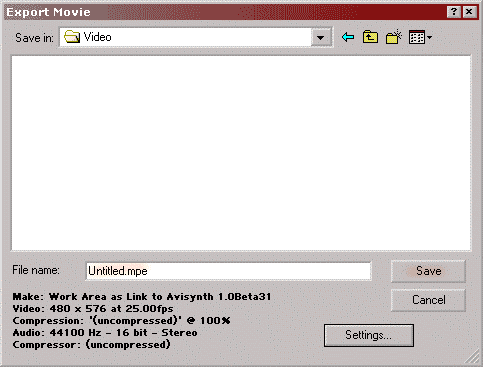
Now should this this windows appear.

Now
has AVISYNTH createad a part0.avs in C:\
that You can test to open with windows media player and it
should play(very slow though). And don't hit Stop serving
until you have encoded.
4) Now to the encoding part, it is basically the same
as convert a AVI to (S)VCD but instead of open a AVI you open
the created part0.avs in the MPEG Encoder(TMPGEnc,Panasonic,
for LSX you need this patch
that you copy to the lsx folder and run) application by selecting
view all files when opening, so for
read here how to convert to VCD
MPEG
and here how to convert to SVCD
MPEG
and here how to convert to DVD MPEG
Done!.
Problems:
|